Headless on Umbraco .NET Core Part 4: Setup Site Search Using A Cloud Service
Welcome to the fourth part of our series on "How To Setup An Umbraco .NET Core Headless CMS Using Gridsome and Vue.js With Automated Deployment"!
You now have a site that updates all the static content, and displays it on the front-end in near-real-time. The next step then is to allow for dynamic content, such as searching. We are going to setup searching using an online search provider called Algolia. The back-end will push content into Algolia as it is published, and the front-end will query Algolia through JavaScript to get the latest results.
Download Required Files
This step uses a few files that need to be added to your project. Rather than try to inline the source in the article, we've bundled them as a ZIP file here. Please download this ZIP file, extract it locally, and then integrate the files as instructed below.
Click Here to Download the Required Files ZIP
Search Setup

Algolia is an online search provider that can both crawl your site, but can also have search data pushed into it. It indexes the data as HTML content, and can return highlighted and snippeted results intelligently.
Setup Algolia
- Go to Algolia.com and create a free account
- After logging in, follow the prompts to create a new index and note down the name you give it
- Go to the API Keys page on the left and capture the Application ID, Search API Key, and Admin API Key for use later
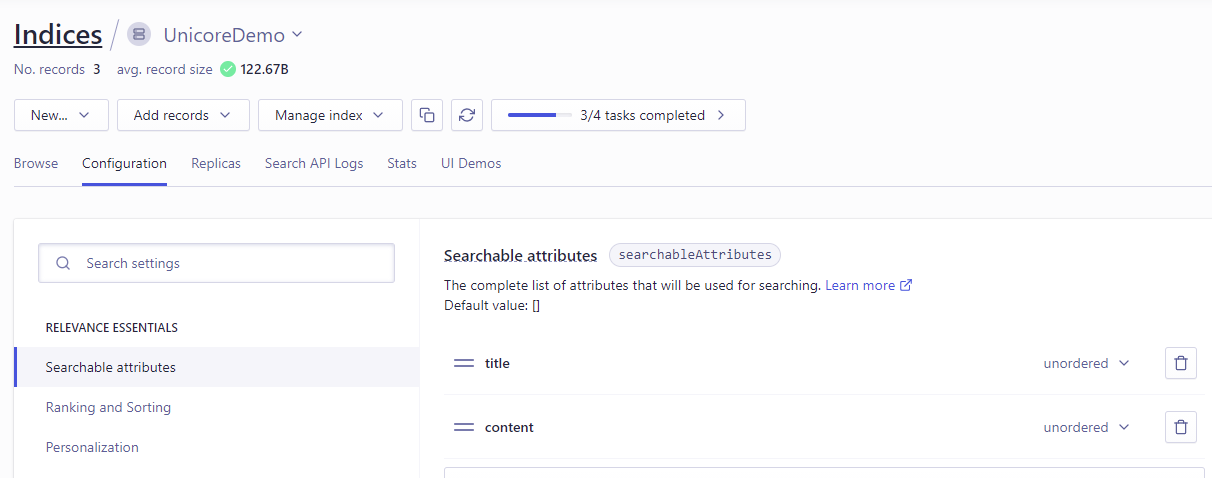
- Go to the Indices page, select your index, and go to the Configuration tab
- Add two searchable fields: title and content
- Go the Ranking and Sorting section of the Configuration tab
- Click "+ Add sort-by attribute" and enter updateDate

- Click "Review and Save" in the lower right, and then "Save"
Update the Frontend
- In the frontend directory, execute the following command to install the Algolia search components
npm install algoliasearch
- Copy the FrontEnd/src/templates/Search.vue file from the Required Files ZIP to your FrontEnd folder. This file is a simple search page that queries the Algolia search engine and displays results.
- Add the following entries to the .env file. IMPORTANT: Replace the tokens below with the values obtained in step 3 above, but make sure you use the Search API key here, and not the Admin API key
GRIDSOME_ALGOLIA_APPLICATION_ID={applicationId}
GRIDSOME_ALGOLIA_API_KEY={searchApiKey}
GRIDSOME_ALGOLIA_INDEX_NAME={indexName} - Commit your changes and push them up to your remote repository
Update the Backend
- In the backend directory, execute the following command to install the Algolia search components
dotnet add package Algolia.Search
- Copy the BackEnd/UnicoreDemo/SearchUpdater.cs file from the Required Files ZIP to your backend folder. This file pushes search data up to Algolia for use by the frontend. Review the QueueForSync method to see what data it pushes up, and review the SyncChanges method to see how it actually pushes data up to Algolia.
- Add the following code to the end of the ConfigureServices method in the Startup class
services.AddHostedService<SearchUpdater>();
- Commit your changes and push them up to your remote repository
Publish and Review
With data being pushed into Algolia, and the search page querying it from Algolia, you are ready to test it out.
- Open a command prompt in the backend directory, and execute this command:
dotnet publish -o dist
- In the Azure Portal for your web app, on the Overview page, click Stop at the top to stop the web app
- Open an FTPS client, such as FileZilla, and connect to the FTPS server from the Azure Web App deployment center (See Part 2 of this Series - "Create AppService on Linux", Step 17)
- Upload any changed files (should be just the UnicoreDemo.* files and the web.config file)
- In Azure, start the web app
- In the Azure Portal, go to the Configuration page for your web app
- Add the following "Application Settings" entries:
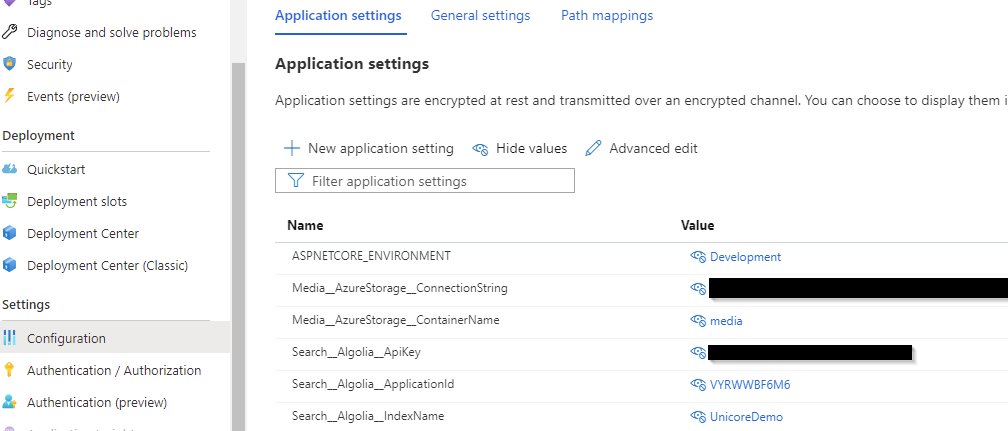
- Search__Algolia__ApplicationId = {applicationId}
Replace {applicationId} with the Algolia application ID noted in step 3 of setting up Algolia above. - Search__Algolia__ApiKey = {adminApiKey}
Replace {adminApiKey} with the Admin API Key from Algolia - Search__Algolia__IndexName = {indexName}
Replace {indexName} with the name of the index you setup in Algolia
- Search__Algolia__ApplicationId = {applicationId}
- Click "Save" once all the entries are added
- Give it a few seconds to restart, then log in to the Umbraco back-office
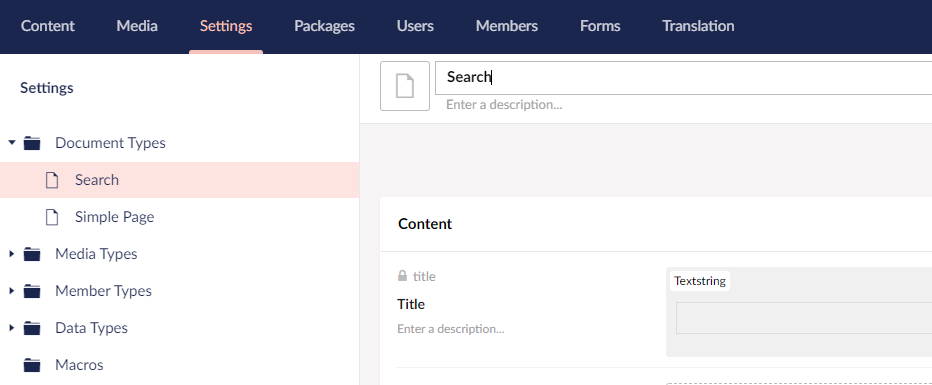
- In the Settings section, add a new document type call "Search"
- Add a group called "Content"
- Add a single property called "Title" with a property type of "Textstring"
- Save your document type
- Go to the "Simple Page" document type
- In the Permissions tab, add the "Search" document type as a valid child type
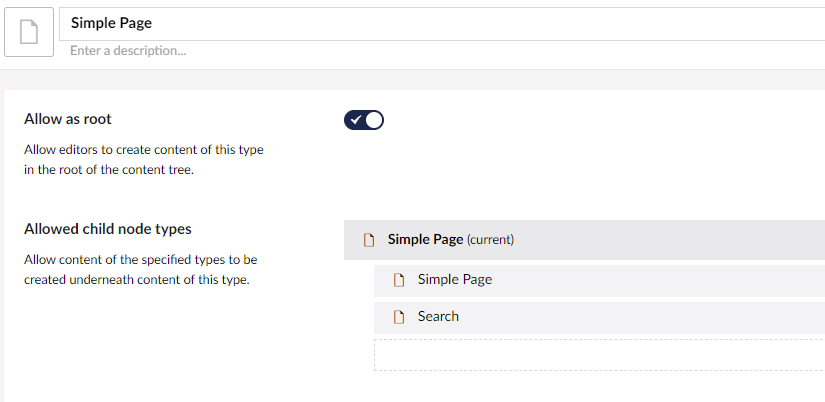
- Save your document type
- In the Content section, add a single Search page as a child of the top-level home page
- Save and publish all the pages in your site to generate the search data for each page
- Wait for the Frontend Build to complete (it may have been triggered multiple times by the above steps, but we only need to wait for the first one to complete)
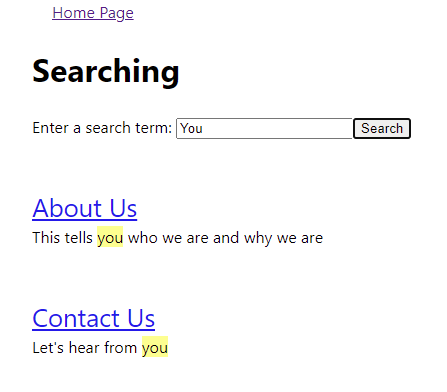
- Browse the frontend of the site, and see that you have a search page available new
- On the search page, try entering text and see that you get back highlighted results from Algolia!
Now we have a fully working and hosted Headless Umbraco CMS using .Net Core with content search! Let us know if there are any other items you would like to see covered.
And let us know if you have any questions or issues in the comments below!