Introducing the TinyMCE Umbraco Package for Umbraco versions 16+
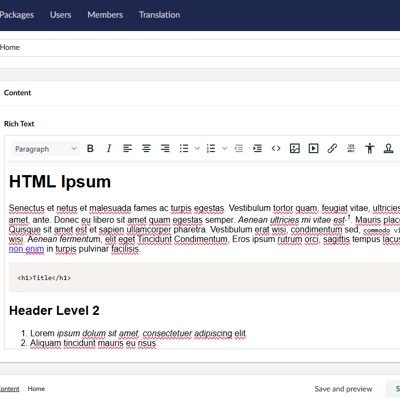
TinyMCE for Umbraco brings the familiar Rich Text Editor back to Umbraco 16+, fully open source and easily installable via NuGet. It restores v15 functionality and adds enhanced configuration options as well as support for TinyMCE Premium features.…


